Cross Country Skiing – How Do I Slow Down?
Gliding over the winter landscape on cross-country skis is great fun and a great exercise. But sooner or later, your path will take you down a slope, sometimes very steep – and then things can get scary.
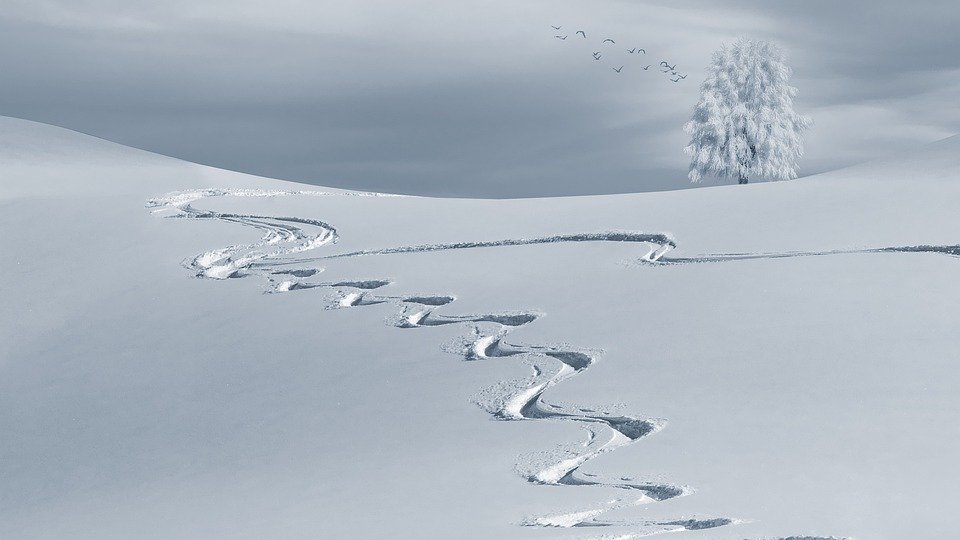
The best way to deal with such descents is to use a technique called Half ice Where your skis are placed in a wedge shape.
To learn it, you need a notched stretch of track that slopes gently downwards. It is important that the slope descends onto level ground – so that you will come to a safe stopping point even if you do nothing to slow yourself down.
Using this slope, break down the technique into the next six elements. Then work through them one by one. Repeat each item several times until you are confident about it.
1 Slide straight down the track
Get into a position with your knees slightly bent, your shoulders relaxed, and your hands extended slightly forward.
Maintain this basic position and simply slide down the incline. Keep your skis in the grooves of the track.
2 Shift your weight to your right foot
Start in the incline in your starting position, then gradually shift most of your weight to your right foot. Your right foot, knee, hip and shoulder should be in a vertical line.
Then, while maintaining this new position, slide down the slope.
3 Lift the left ski off the snow
When you are happy with the right weight position, it is time to start lifting the left ski briefly off the rail.
Practice raising and lowering the sled as you slide down the slope. Keep your weight on your correct skate the entire time. Repeat several times, lifting the left sled longer each time.
4 left ski wedge
While maintaining the right weight position, lift the left ski as just shown. But now put it on the snow in a wedge, placing it to the left of the track grooves. Your right skate is still pointing forward in its lane. Your ski tips will be very close together.
At this point, don’t worry about how wide the wedge is. As long as your ski tails are further apart than the ski tips, you’re making progress.
Now put the left sled back in its lane.
Go down your incline several times and repeat the sequence: lift up; wedge; Replace in the right track.
5 Gradually shift your weight to the left sled
Now, when you slide the left skate, shift some of your body weight to it. Do this gently and gradually. Feel your upper body move from the right dumbbell position through a center position and gradually to the left dumbbell position.
Try it several times. You may feel the wedge widen as your weight changes.
6 Gradually bring the left sled to its inner edge.
This last item requires a gentle touch.
Now, when you’ve clamped and weighted your left ski, push its inner edge down into the snow. You can do this by applying gentle pressure on the big side of your left foot.
You must stop!